Screenshot editor
Crop and annotate a screenshot before copying, downloading, saving, or updating it.
The screenshot editor opens after a capture and when you edit a saved screenshot.
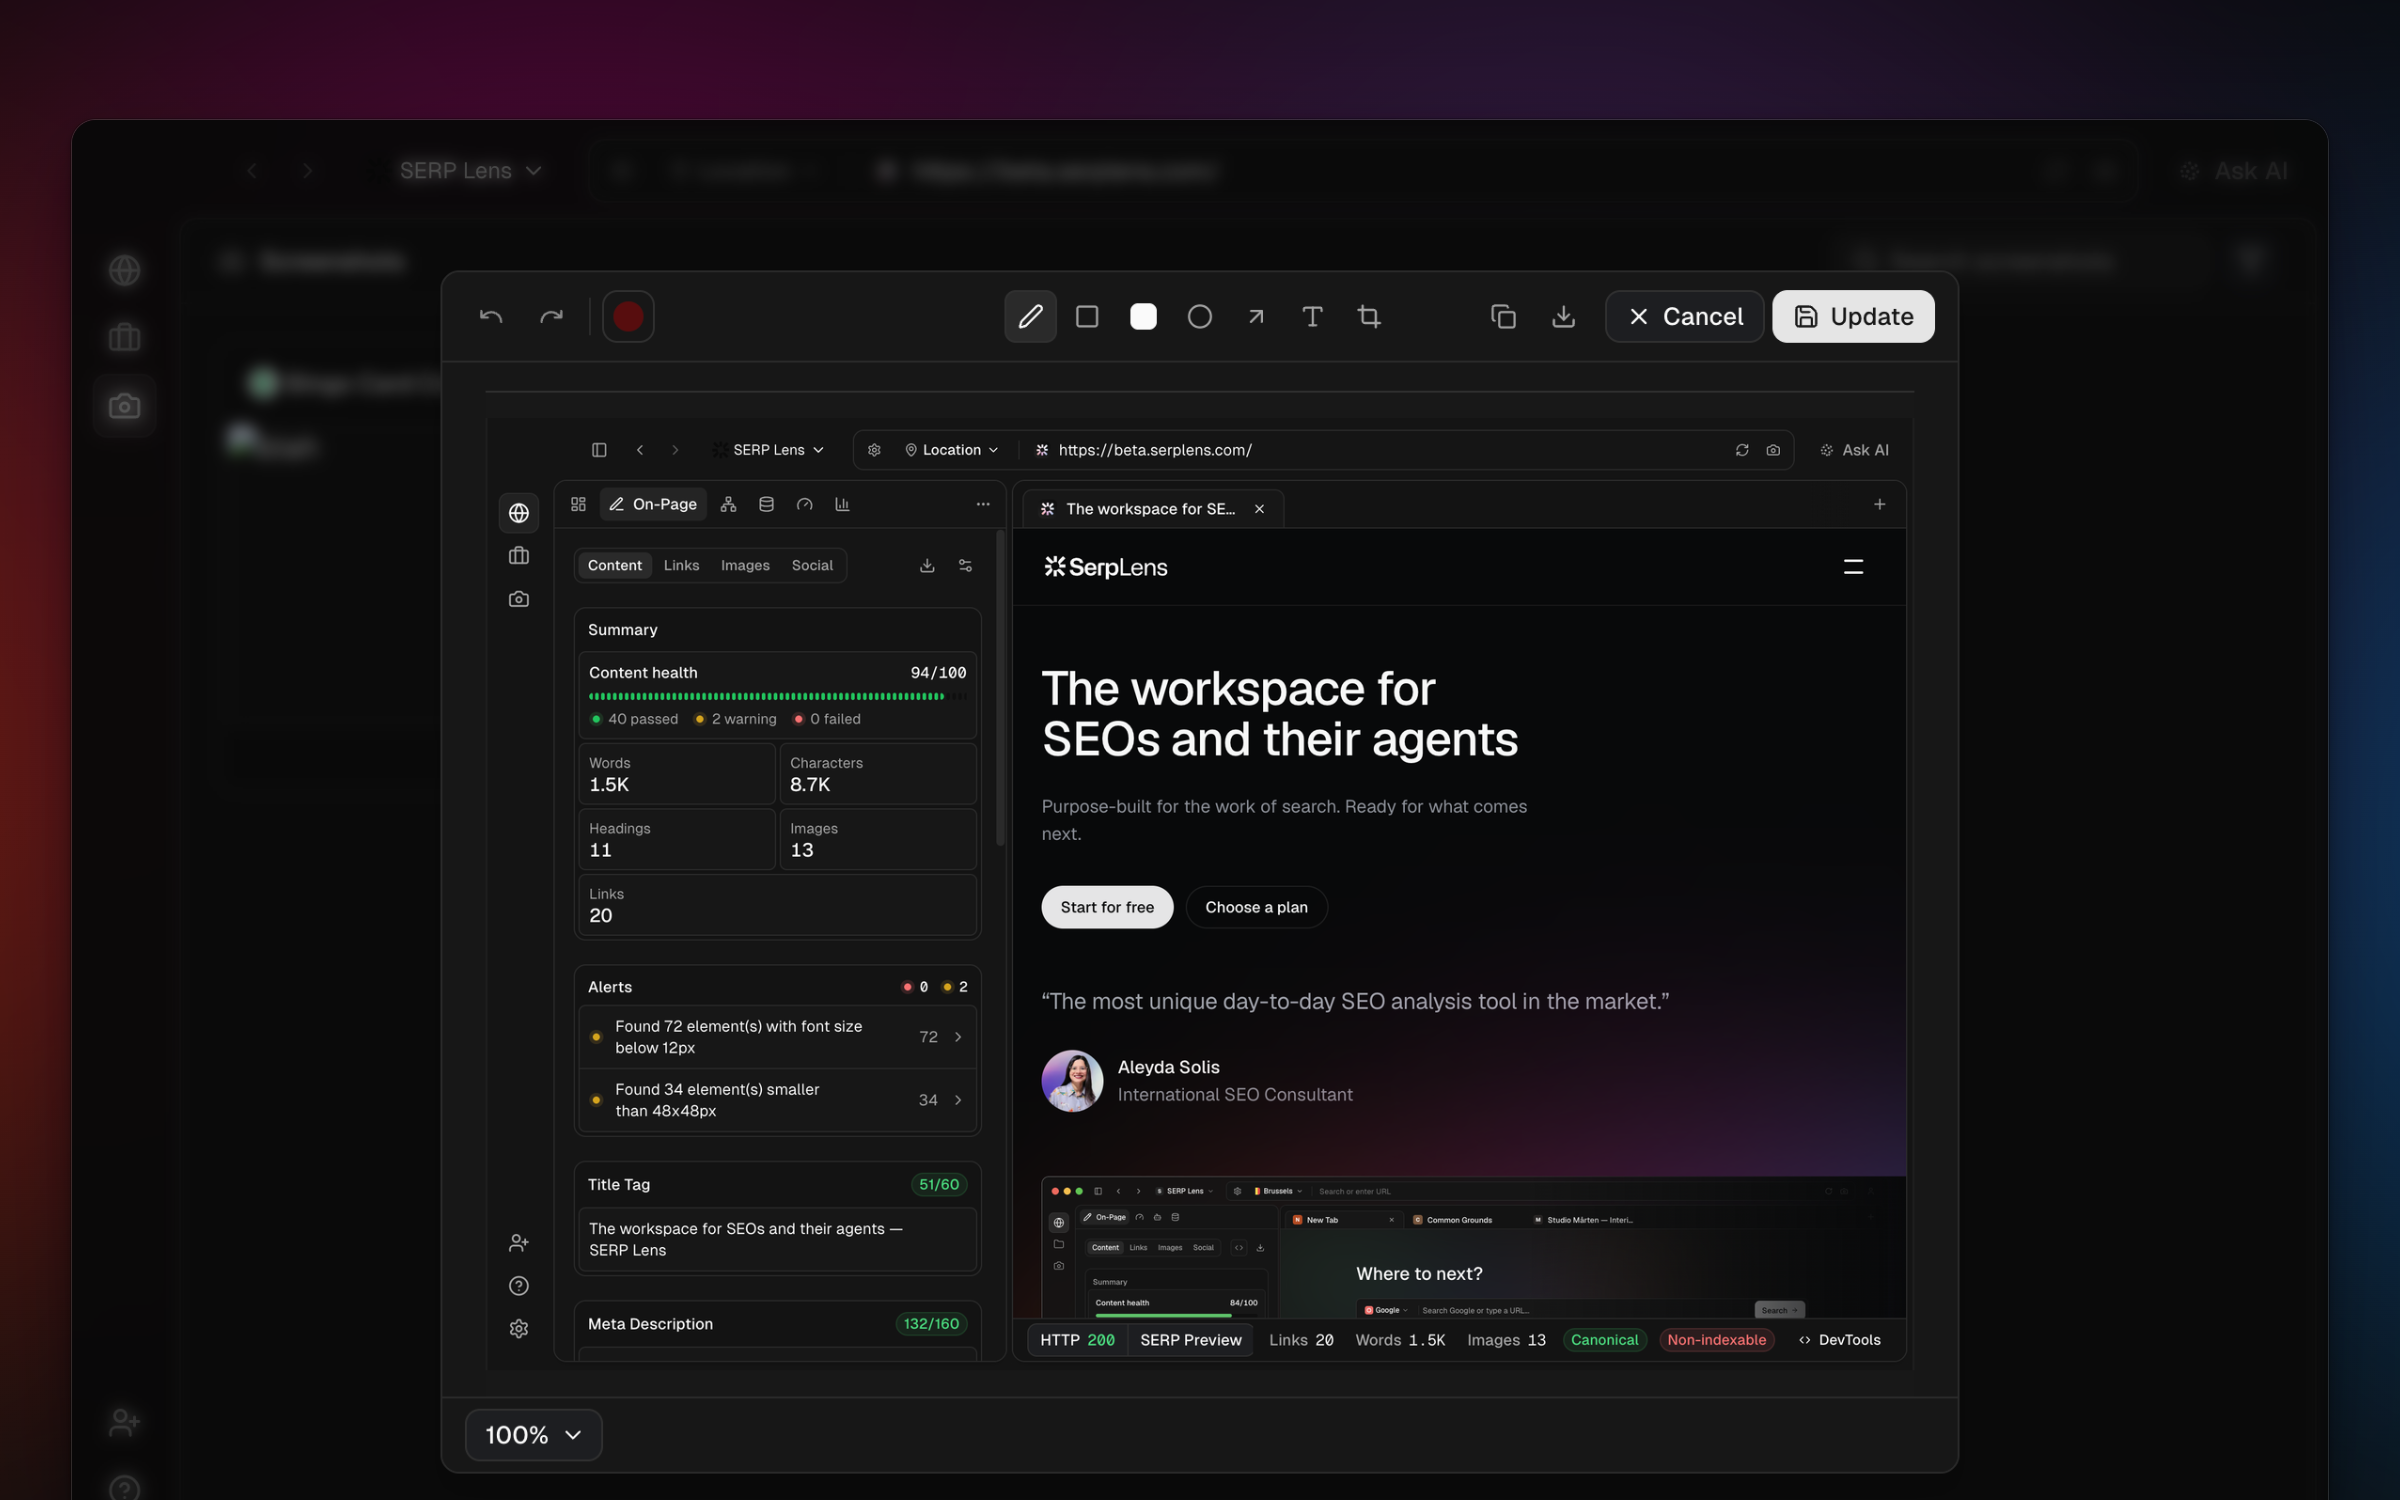
Tools
| Tool | Use |
|---|---|
| Pen | Draw a freehand mark |
| Rectangle | Draw an outlined box |
| Filled rectangle | Cover or emphasize an area |
| Circle | Draw an ellipse around an element |
| Arrow | Point to a specific result or page element |
| Text | Place a text label |
| Crop | Remove content outside the selected bounds |
Choose a tool, set its available color or style controls, then draw on the canvas.
Editor shortcuts
| macOS | Windows | Action |
|---|---|---|
| Cmd Z | Ctrl Z | Undo |
| Cmd Shift Z or Cmd Y | Ctrl Shift Z or Ctrl Y | Redo |
| Cmd + | Ctrl + | Zoom in |
| Cmd - | Ctrl - | Zoom out |
| Cmd 0 | Ctrl 0 | Fit the image to the canvas |
Finish the edit
- Save — enter a screenshot name and project for a new saved capture.
- Update — apply the edit to the saved screenshot you opened.
- Copy — put the rendered image on the clipboard.
- Download — save the rendered image as a PNG.
Close the editor only after saving or exporting work that you want to keep.